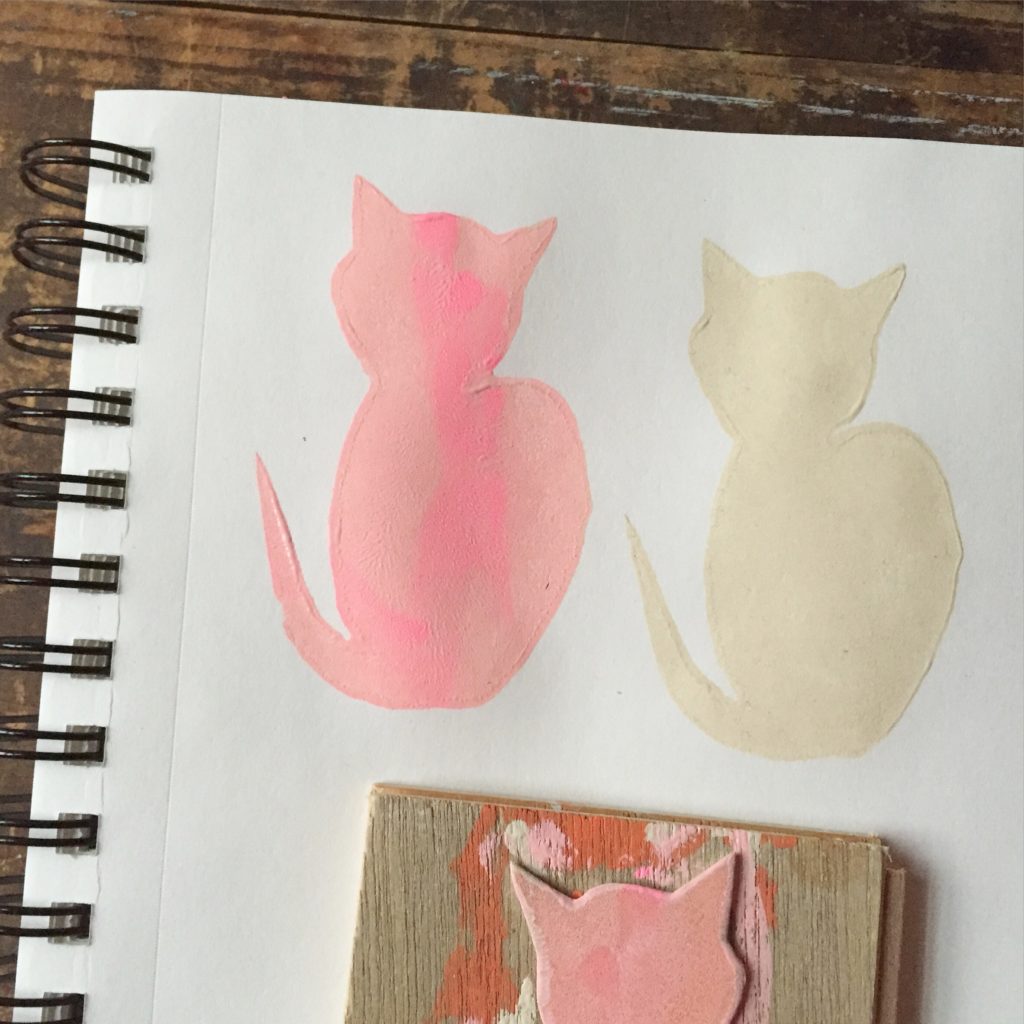
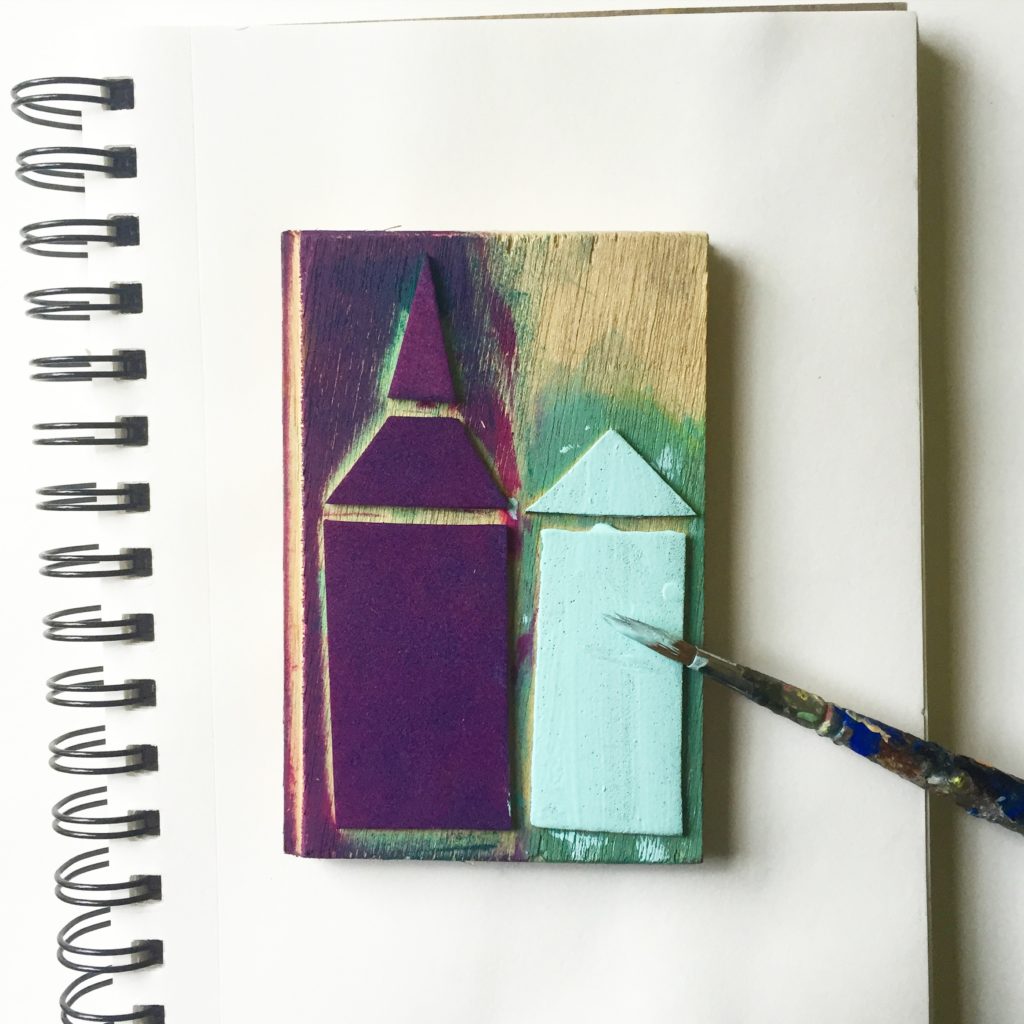
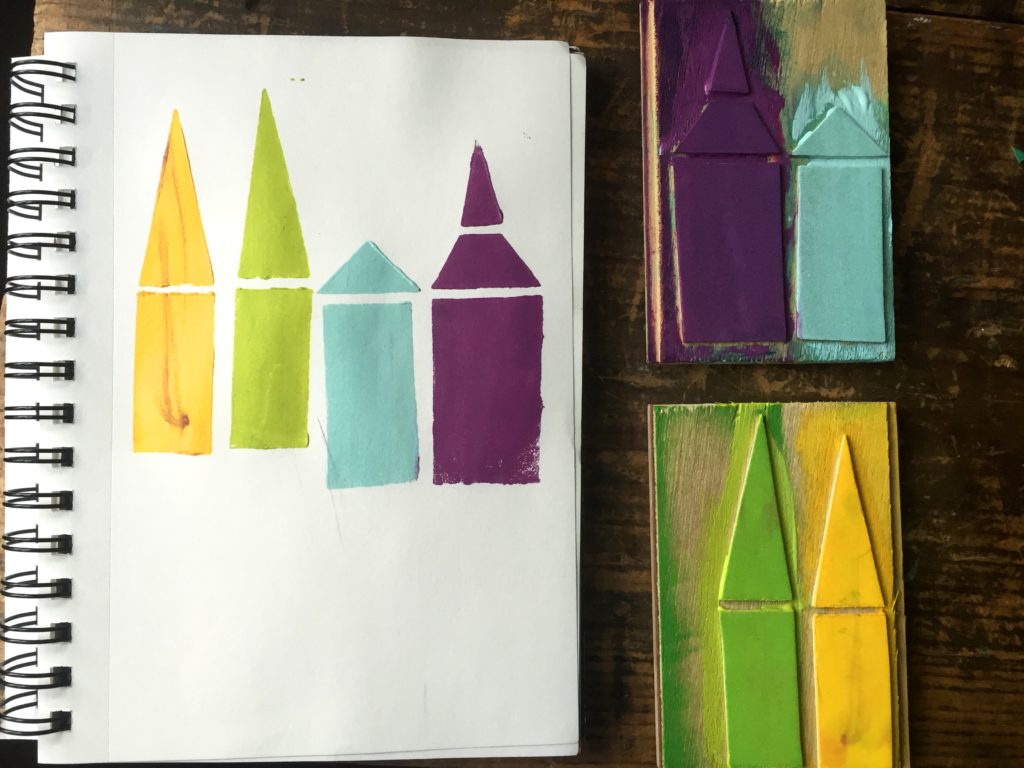
 DIY craft foam printing blocks are one of my favorite ways to print. Because it is a simple, no fuss way to print, I can spend hours making blocks, playing with color, and experimenting with shapes. The one limitation with craft foam relief printing is that it doesn’t capture fine lines and small details well. It is best to stick with simple shapes and designs that are not very intricate.
 The reasons I love this technique:
- It is great for experimenting quickly with shapes and color
- It is super child friendly, and easy to execute in a classroom, camp group, or birthday party
- Each print creates sharp, beautiful shapes
- They can be dried and saved for future use.
You’ll need:
- Sticky back craft foam (find it at your local arts and crafts store)
- A solid surface to mount your stamp (cardboard squares or squares of flat wood will work)
- Pencil
- Scissors
- Paint and paintbrush or ink pads
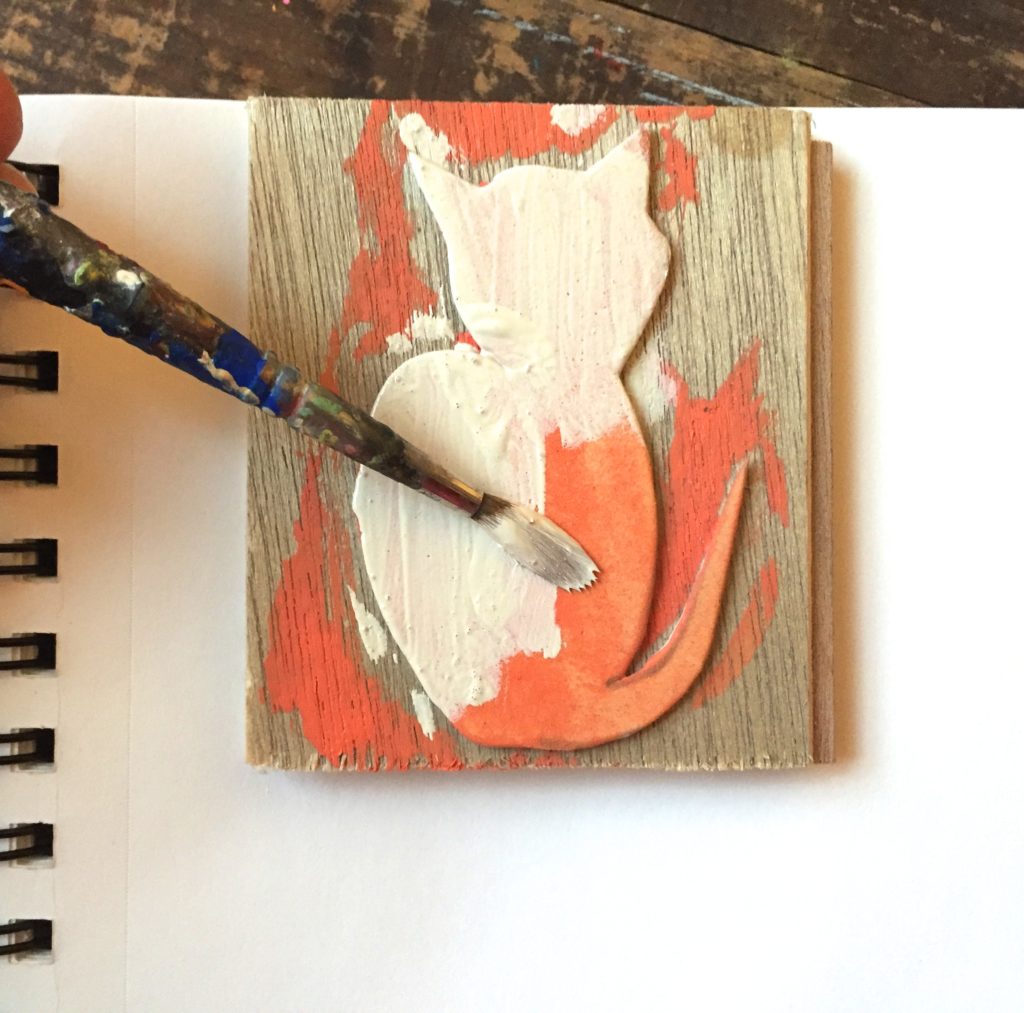
Use a pencil to draw shapes on the craft foam, and then cut them out. Peel the paper off of the back and firmly press them onto the solid surface (wood or cardboard). Remember that you can can cut one shape (like my cat) or you can build a shape using lots of smaller shapes (like the buildings).
 Coat the printing block with paint or ink, and then press firmly onto a the printing surface. If you coat it with fabric paint, you can make cute-as- pie shirts to go all around!


Emily, I’m inundating you with questions today!
What kind of paint do you like to use for printing??
Hi Yael! I’m so happy to answer questions!
I sometimes use pigment ink pads (like Tsukineko VersaColor). Other times, I use a very thin coat of acrylic paint. It all depends on what the project is. Ask more questions!
e