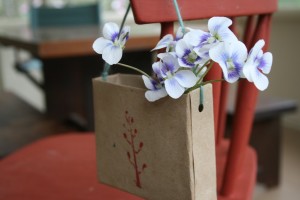
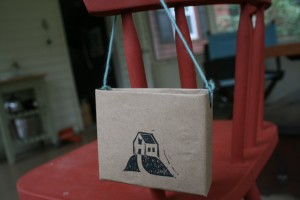
 After staring at the most beautiful cluster of purple and white flowers that are blanketing our front lawn, I thought, “enough is enough,” and I decided then and there that I needed a small place to hang them inside. After some rummaging through the recycle bin, cutting, gluing, tying, and stamping, this little squarish basket was born; it is perfect for putting spring clippings in and hanging on a wall or door knob. It is made out of paper, though, so fresh flowers need to be have a small dampened cloth wrapped around them and then some sort of tight plastic covering ( a small plastic bag) if they are to live. I’m planning on making one for Chick to use as a little gathering basket since she never knows where to put her extra acorns and bits of string.
This is a simple project. You’ll need:
a paper box (Near East rice pilaf worked for me)
x-acto knife
glue stick
kraft paper (or any kind of decorative paper)
ruler
bone folder
hole puncher
sharpie
scissors
string
stamp
stamp pad
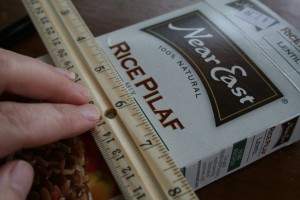 Step one: Measure how big you want the basket to be and draw an even line with the sharpie across both the back and front of the box. Be sure to measure with your ruler so that both the back and front will be the same size.
Step two: Using the x-acto knife, slowly cut along the lines that you drew.
Step three: Cut a piece of kraft paper to size and then use the glue stick to put glue all over the entire outside surface of the box.
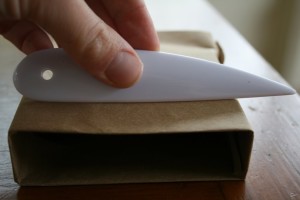
Step four: Wrap the paper around the box and use the bone folder to smooth the sides.
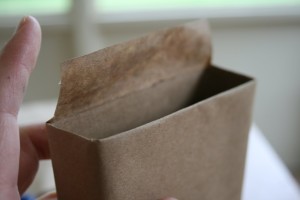
Step five: Flip the box over so you are looking inside it, and snip the four corners in order to make flaps that you can push in and glue down. Be sure to put lots of glue on the inside of the flaps so that they adhere nicely inside the box.
Step six: Flip the box over so you are looking at the bottom. Put glue on the bottom and fold the paper as if you are wrapping a box. Use bone folder to press and seal.
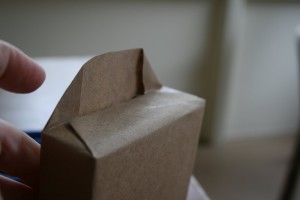
Step seven: Use bone folder to smooth, press, and seal all of the paper onto the box.
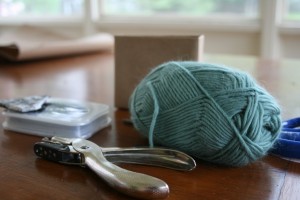
Step eight: Punch a hole on each side, and use the holes to make a handle by tying on a piece of yarn.
Step nine: Decorate. I used a hand carved stamp and stamp pad to decorate. Kids could decorate this anyway they want to.
While the cutting should be done by a grown up, older kids can definitely take part in wrapping the box, and both little and big can certainly help decorate. Wouldn’t this be a fun activity for a birthday party?
xo e


Ooooh, nice! I am getting a vision of bigger boxes all lined up and lots of great supplies stored away waiting for creativity, on a shelf, in a barn, on a country road…
This is a really great idea – thank you for sharing it!
I love this, it will make a fun little gift for the grandparents!
So sweet! I love that. I’ll totally make that with the kiddos this weekend. Then go out and pick some honeysuckle to put in it. If we cover the box with bird seed bag material, I wonder if it would hold water too?
I really like your blog. I am so glad I found it.
It is so great to hear from you all. Send pictures if you make it.
So Sweet!
Oh that’s so pretty! I’d love to link to this if you didn’t mind!
Great idea! Thanks.
This I will make to hold my coupons…many thanks!
Jinger – I’m always looking for a quick place to store coupons. Great idea!
Rachel – As mentioned in my email, you are more than welcome to link. Thanks!
I just love these! So many fun things you could do with them… they look beautiful with the flowers. Linked to them at http://mydiyweddingday.com/
This is such a cute craft you can make with household items, I love it! I just wrote about crafts you can make out of old gameboards. If you’re interested in crafting anything you can read about it at http://www.favecraftsblog.com/board-games-used-for-crafts/
Have fun!
Christine
http://www.FaveCrafts.com
http://www.FaveCraftsBlog.com
these would be fun may day baskets, to hang on neighbors door nobs, thank you!
erin
Wow! This is so creative and looks fantastic. Great job!